PrintNode - Cloud Printing Service
Introduction
PrintNode allows you to print documents from Business Central to any printer connected to the internet, without the need for a direct network connection. Printing is done through the PrintNode cloud service, which is an ideal solution for remote printing or printing from Business Central Online environment.
For implementation, we use the Insight Works PrintNode Connector application.
Prerequisites
- Account on PrintNode.com (We will set it up for you)
- PrintNode Client installed on the computer with the connected printer
- Insight Works PrintNode Connector application installed in Business Central
Installation and Setup
1. Registration and PrintNode Account Setup
To create a PrintNode account, contact us and provide:
- Email address for the account registration
- We recommend using a generic company email (e.g.,
info@yourcompany.com,support@yourcompany.com), not an email tied to a specific person - This approach ensures that access to the account will not depend on one employee
We will then:
- Create a PrintNode account
- Send login credentials (email and password) to your address
After receiving login credentials:
- Log in to https://www.printnode.com/ using the provided credentials
- Go to the API Keys section
- Enter your account password again to confirm your identity (to view/create API keys)
- Name the key (e.g., "Business Central") and click Create
- Copy the generated API key - you will need it to connect Business Central (step 4)
2. PrintNode Client Installation
- Download PrintNode Client from https://www.printnode.com/en/download
- Run the installation file on the computer to which the printer is connected
- During installation, select the Install PrintNode as a Windows Service option
- This will ensure that PrintNode Client will automatically start when the computer starts and will run in the background even without a logged-in user.
- After installation is complete, a web interface for login will automatically open
- Log in using your PrintNode account (email and password you received)
- The application automatically detects all available printers on the computer
- Verify on the PrintNode.com website in the Devices section that your computer and printers are showing as "Online"
Note: The PrintNode service has a web interface available at http://localhost:8888/, where you can check the service status, connected printers, and change settings at any time.
3. Application Installation in Business Central
Install the Insight Works PrintNode Connector application according to the instructions in the Installing Apps From AppSource section.
Look for the application named "Insight Works PrintNode Connector".
4. PrintNode Configuration in Business Central
Basic Setup
- In Business Central, search for the Insight Works PrintNode Setup page

- Fill in the API Key field with the key you obtained from your PrintNode account (see step 1)
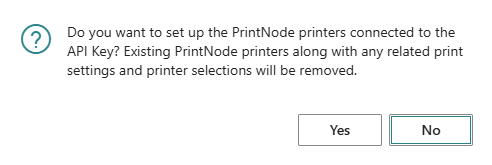
- After entering the API key, a pop-up window will appear asking if you want to load printers from PrintNode. Click Yes to load printers into Business Central.
- If the connection is successful, you will see a confirmation and all printers from PrintNode will now be available in Business Central for mapping and printing.
Printer Mapping
- Search for the Insight Works PrintNode Printers page
- On the page, you see all printers that are connected to your PrintNode account. If you just entered the API key, all printers should already be loaded. If you add a new printer to PrintNode, click Update PrintNode Printers to update the list in Business Central.
- For each printer, set the default paper size using the Set Default Paper Size action. After clicking the button, a message will appear asking if you want to select from a list of sizes loaded from PrintNode, or clear the current size.
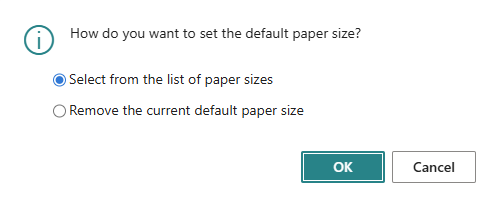
- Select the Select from list of paper sizes option and confirm with OK.
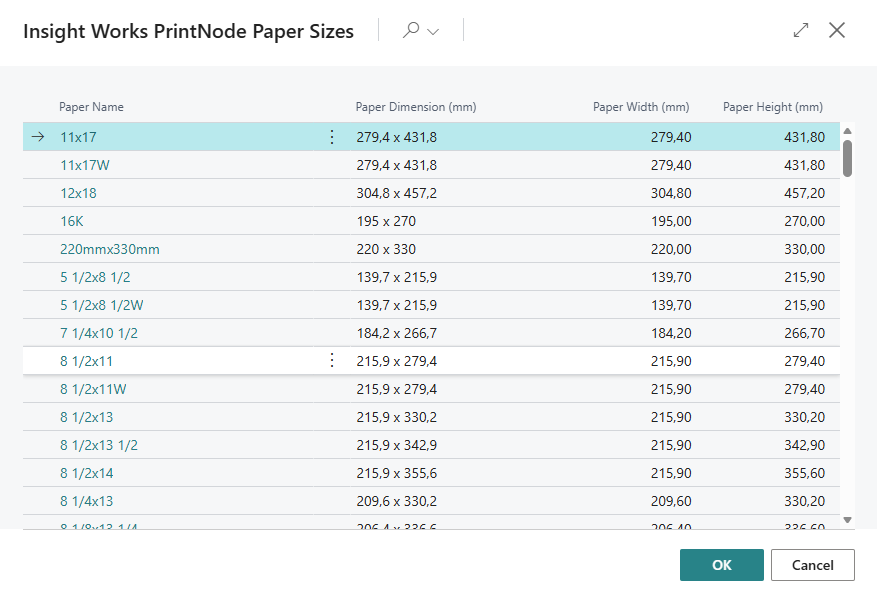
- Now you will see a list of paper sizes supported by your printer. Select the correct size and confirm with OK.
User Printer Setup
- Search for the Printer Selections page
-
Here you can map specific printers for:
- Individual users
- Specific reports
- User + report combination
-
Create a new record and fill in:
- User ID (empty = all users)
- Report ID (empty = all reports)
- Printer Name: Select PrintNode printer from the list
Using PrintNode
After completing the user printer setup, reports will automatically print directly to the configured printer without the need for manual selection.
Documents are sent to the PrintNode cloud and automatically printed on the appropriate printer according to the rules set in Printer Selections.
Troubleshooting
Printer Not Available
Problem: Printer does not appear in the PrintNode printers list.
Solution:
- Check that PrintNode Client is running on the computer
- Verify on the PrintNode.com website that the computer and printer are "Online"
- In Business Central, click Update PrintNode Printers on the Insight Works PrintNode Printers page to update the list
- Check that the API key is entered correctly
Document Prints to Wrong Printer
Problem: Document prints to a different printer than selected.
Solution:
- Check settings in Printer Selections
Document Doesn't Print Correctly (wrong formatting, orientation, etc.)
Problem: Documents print, but with incorrect formatting, page orientation, or other printer setting issues.
Solution:
The PrintNode service must run under the same user account under which you configure the printer drivers. Only then will the service respect your user printer settings.
- Open Services in Windows:
- Press
Win + R, typeservices.mscand press Enter
- Press
- Find the PrintNode service
- Right-click on the service and select Properties
- Go to the Log On tab
- Change the setting from Local System account to This account
- Enter the login credentials of the account under which you log in to the computer and configure printers:
- Click the Browse... button and select the desired user account, or enter manually in the format
DOMAIN\usernameor.\username(for local account) - Password: Enter the account password
- Confirm password: Enter the account password again
- Click the Browse... button and select the desired user account, or enter manually in the format
- Click OK
- Restart the PrintNode service:
- Right-click on the service and select Restart
After this change, the PrintNode service will use your user printer driver settings (orientation, print quality, default paper tray, etc.).